RemoteIoT VPC SSH Raspberry Pi has become an essential tool for developers and hobbyists alike who wish to control their Raspberry Pi devices remotely while ensuring secure connections. Whether you're setting up a home automation system or managing a server from afar, understanding how to configure Virtual Private Cloud (VPC) and SSH on Raspberry Pi is critical. This guide will walk you through everything you need to know about remote IoT setups, VPC configurations, and secure SSH access.
With the increasing demand for remote work and IoT applications, learning how to establish secure connections between devices has never been more important. This article aims to provide a detailed explanation of how to set up a Raspberry Pi for remote access via SSH within a Virtual Private Cloud environment, ensuring your devices remain secure and functional.
By the end of this guide, you'll have a comprehensive understanding of RemoteIoT VPC SSH Raspberry Pi configurations and best practices. Whether you're a beginner or an experienced user, this article will equip you with the knowledge needed to manage your Raspberry Pi projects effectively.
Read also:Hdhu4u Free Movies Shows Latest Releases
Table of Contents
- Introduction to RemoteIoT
- Understanding Virtual Private Cloud (VPC)
- Raspberry Pi Overview
- Setting Up VPC for Raspberry Pi
- Configuring SSH on Raspberry Pi
- Securing SSH Connections
- Tips for Remote Access
- Troubleshooting Common Issues
- Best Practices for RemoteIoT VPC SSH
- Conclusion
Introduction to RemoteIoT
RemoteIoT refers to the practice of managing and monitoring Internet of Things (IoT) devices remotely. This involves configuring devices like Raspberry Pi to allow secure access over the internet. By leveraging technologies such as SSH (Secure Shell) and VPC (Virtual Private Cloud), users can manage their IoT setups from virtually anywhere.
One of the primary advantages of RemoteIoT is the ability to centralize control over multiple devices, reducing the need for physical access. This is particularly useful in scenarios where IoT devices are deployed in remote locations or require frequent updates and maintenance.
Why Use RemoteIoT?
- Enhanced flexibility in managing IoT devices
- Improved security through encrypted connections
- Cost-effective solution for remote device management
Understanding Virtual Private Cloud (VPC)
A Virtual Private Cloud (VPC) is a network environment that allows users to isolate their resources within a cloud infrastructure. By creating a VPC, you can define custom network configurations, including subnets, IP ranges, and security groups, ensuring that your devices operate in a secure and controlled environment.
When configuring a Raspberry Pi for remote access, setting up a VPC can provide an additional layer of security by isolating your device from public internet traffic. This is especially important when dealing with sensitive data or critical IoT applications.
Key Features of VPC
- Customizable network configurations
- Enhanced security through private subnets
- Scalability for growing IoT setups
Raspberry Pi Overview
The Raspberry Pi is a credit-card-sized computer designed for learning programming and creating DIY projects. Its versatility and affordability have made it a popular choice for hobbyists and professionals alike. With its ability to run various operating systems and support a wide range of peripherals, the Raspberry Pi is an ideal platform for IoT applications.
When used in conjunction with SSH and VPC, the Raspberry Pi can serve as a powerful remote management tool, allowing users to control and monitor their devices from anywhere in the world.
Read also:Ullu Hot Exclusive Adult Content More
Raspberry Pi Specifications
- Processor: Broadcom BCM2711
- RAM: 4GB/8GB
- Storage: MicroSD card
Setting Up VPC for Raspberry Pi
Configuring a VPC for your Raspberry Pi involves several steps, including setting up a cloud provider account, creating a VPC network, and configuring your Raspberry Pi to connect to it. Below is a step-by-step guide to help you get started:
Step 1: Choose a Cloud Provider
Select a cloud provider that supports VPC configurations, such as AWS, Google Cloud, or Microsoft Azure. Each provider offers unique features and pricing models, so choose one that best fits your needs.
Step 2: Create a VPC Network
Once you've selected a provider, create a VPC network by defining subnets, IP ranges, and security groups. Ensure that your Raspberry Pi's IP address falls within the defined range to allow seamless communication.
Step 3: Configure Raspberry Pi
Install the necessary software on your Raspberry Pi to connect to the VPC network. This may involve configuring network settings, installing client software, and setting up security credentials.
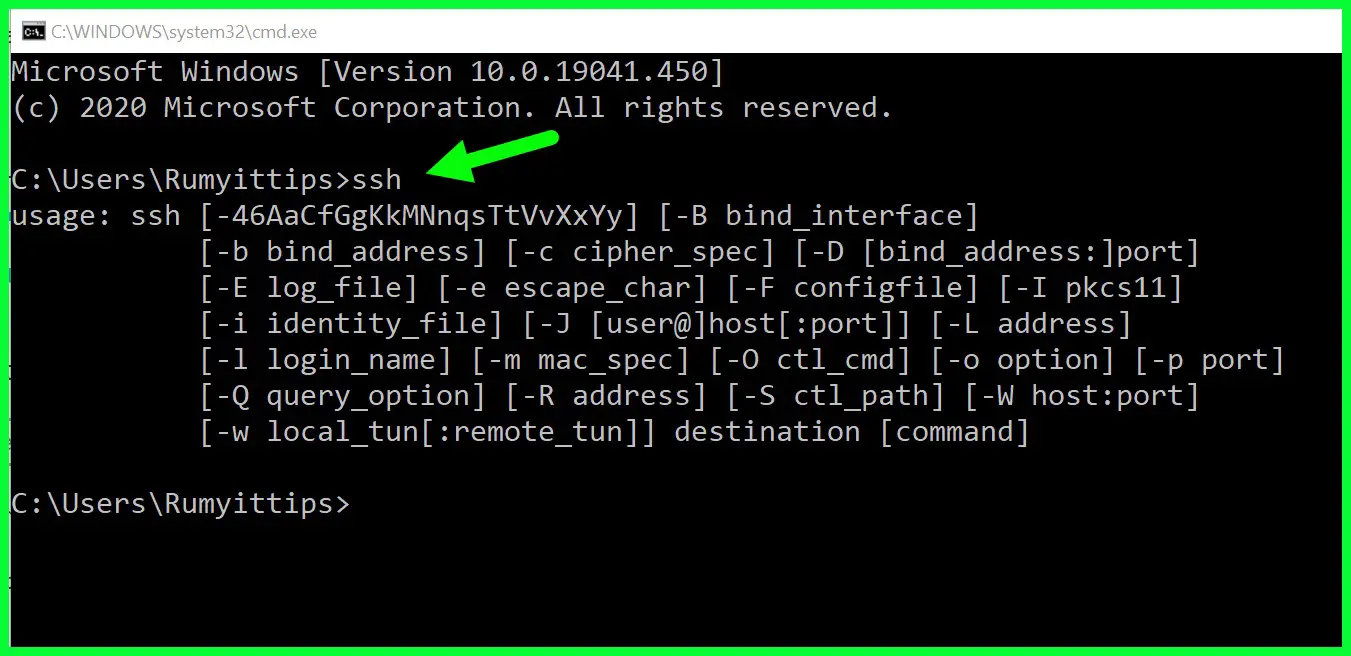
Configuring SSH on Raspberry Pi
Secure Shell (SSH) is a cryptographic protocol used to secure remote connections between devices. Enabling SSH on your Raspberry Pi allows you to access its terminal remotely, enabling you to manage files, run commands, and monitor processes.
To configure SSH on your Raspberry Pi, follow these steps:
Step 1: Enable SSH
By default, SSH is disabled on Raspberry Pi OS. To enable it, navigate to the "Raspberry Pi Configuration" menu and select the "Interfaces" tab. From there, enable SSH and reboot your device.
Step 2: Set Up SSH Keys
For enhanced security, configure SSH keys instead of using passwords. Generate a public/private key pair on your local machine and copy the public key to your Raspberry Pi's authorized_keys file.
Securing SSH Connections
While SSH provides a secure method of remote access, it's important to take additional steps to protect your Raspberry Pi from unauthorized access. Below are some best practices for securing SSH connections:
- Disable password authentication and use SSH keys instead
- Change the default SSH port to a non-standard value
- Limit access to specific IP addresses using firewall rules
Tips for Remote Access
Managing a Raspberry Pi remotely can be challenging, especially for beginners. Here are some tips to help you streamline the process:
- Use a dynamic DNS service to simplify remote access
- Regularly update your Raspberry Pi's software and firmware
- Monitor system logs for suspicious activity
Troubleshooting Common Issues
Despite careful planning, issues may arise when setting up RemoteIoT VPC SSH Raspberry Pi configurations. Below are some common problems and their solutions:
- Unable to Connect via SSH: Ensure that the SSH service is running and that the correct IP address and port are being used.
- VPC Configuration Errors: Double-check your VPC settings and ensure that your Raspberry Pi's IP address is within the defined range.
Best Practices for RemoteIoT VPC SSH
To ensure a successful RemoteIoT VPC SSH setup, follow these best practices:
- Regularly back up your Raspberry Pi's configuration and data
- Implement a strong password policy and use multi-factor authentication
- Document your setup process for future reference
Conclusion
In conclusion, mastering RemoteIoT VPC SSH Raspberry Pi configurations requires a solid understanding of networking principles, SSH protocols, and security best practices. By following the steps outlined in this guide, you can set up a secure and efficient remote access system for your IoT devices.
We encourage you to leave a comment below sharing your experiences with RemoteIoT VPC SSH Raspberry Pi setups. Additionally, feel free to explore our other articles for more insights into IoT and Raspberry Pi projects. Together, let's build a smarter, more connected world!
Data Source: Raspberry Pi Documentation, AWS VPC User Guide